Introduction
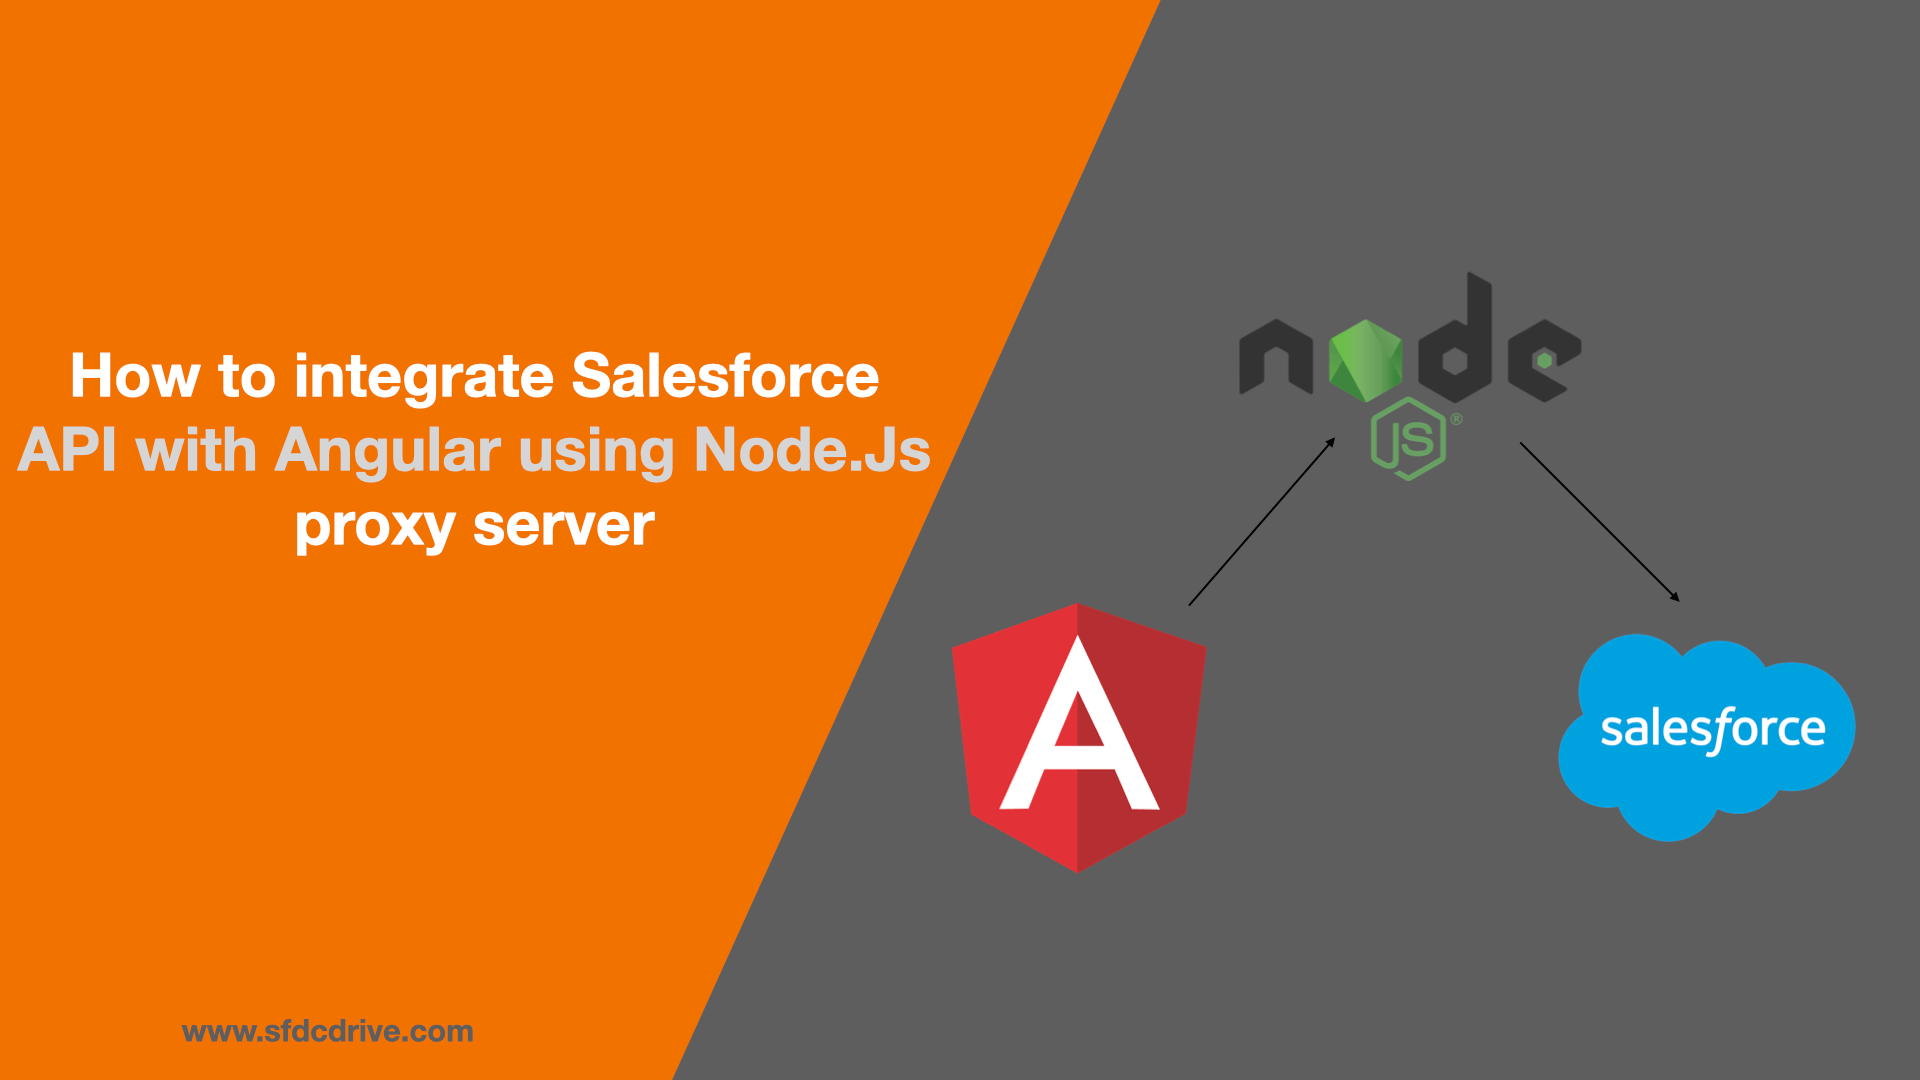
In this blog, we’ll explore the process of integrating the Salesforce API with Angular, leveraging Node.js as proxy server. Angular is an open-source web application framework developed and maintained by google. It is used for building front-end of complex web applications.
Table of Contents
Prerequisites
- Basic knowledge of Angular and Node.js.
- Access to a Salesforce developer account.
- A code editor of your choice (e.g., Visual Studio Code).
Significance of Node.js server
Why use a Node.js server for Salesforce API integration instead of directly calling from Angular?
When it comes to integrating the Salesforce API with Angular, why do we introduce a Node.js proxy server? The answer lies in the inherent security mechanisms enforced by browsers, specifically the Cross-Origin Resource Sharing (CORS) policy.
In scenarios where Angular attempts to make direct API calls to Salesforce from the client side, a common roadblock emerges. Browsers restrict such requests if they are made to a server in a different domain. Salesforce servers do not inherently send the necessary “Access Control Allow Origin” headers required to circumvent this CORS policy. This is where the Node.js server comes into play.
The callback often triggers an error due to the CORS policy. The browser sends a preflight OPTIONS request automatically before the actual POST request, and without the proper headers, this request is denied. This policy is in place to ensure the security of client-side interactions.
By using a Node.js server as a middleware, you can overcome these CORS restrictions. The Node.js server acts as a bridge, receiving requests from the Angular application and forwarding them to the Salesforce API. The Node.js server can be configured to include the necessary headers, ensuring a smooth and secure communication channel.
Conclusion
So, the decision to use a Node.js server for Salesforce API integration is a strategic move to navigate the browser’s security policies effectively. This approach enables developers to seamlessly interact with Salesforce APIs from the Angular without running into CORS-related issues.
Next time you encounter issues with CORS policies while making API calls from Angular to Salesforce, consider incorporating a Node.js proxy server into your architecture. It’s a powerful solution that facilitates secure communication and ensures a hassle-free integration process.
Step-by-step process: perform the integration
Step 1: Create and configure the connected app in Salesforce:
How to configure connected App in salsforce
Step 2: Create a test API in salesforce:
Create a simple test API that returns the 10 account records in Salesforce:
@RestResource(urlMapping='/getAccountData/*')
global class SFDCDRIVE_API {

    @HttpGet
    global static List<Account> getAccountList(){
        RestRequest req =  RestContext.request;
        RestResponse res =  RestContext.response;
        String urlId = req.requestURI.subString(req.requestURI.lastIndexOf('/')+1);
        List<Account> acc = [SELECT Id,Site,Industry,Name FROM Account LIMIT 10];
        return acc;
    }

}


// This is the simple api which returns the 10 Account records
// Endpoint = BaseurlOfYourOrg/services/apexrest/getAccountData/
Step 3: Setting Up the Node.js Proxy Server:
Make sure Node.js is installed on your computer, we are going to create a Node.js project and install the necessary packages
- Express
- Axios
- Cors
# Create a new Node.js project
npm init -y

# Install necessary packages
npm install express cors axios

# Create a server file (e.g., server.js) and set up a basic Express server with CORS support

#Command to start the server( Configured in package.json file)
npm run start
In the package.json file:
{
  "name": "sfdcdrive",
  "version": "1.0.0",
  "description": "This is a proxy server to integrate salesforce with angular",
  "main": "src/app.js",
  "scripts": {
    "start": "node src/app.js"
  },
  "author": "SFDCDRIVE",
  "license": "ISC",
  "dependencies": {
    "axios": "^1.6.2",
    "body-parser": "^1.20.2",
    "cors": "^2.8.5",
    "express": "^4.18.2"
  }
}
In the app.js file:
const express = require('express');
const axios = require('axios');
const bodyParser = require('body-parser');
const cors = require('cors');


//create express js app
const app = express();
const PORT = 3000;

app.use(cors());

//To parse the request body
app.use(bodyParser.urlencoded({extended : true}));
app.use(bodyParser.json());


//Authentication API
app.post('/authenticate', async(req,res) => {
    try {
      //Extract all the parameter from the req body
      const { client_id, client_secret, username, password} = req.body;
      console.log('## client_id ===> ' , client_id);
      console.log('## client_secret ===> ' , client_secret);
      console.log('## username ===> ' , username);
      console.log('## password ===> ' , password);

      const response = await axios.post('https://login.salesforce.com/services/oauth2/token', null,{
        params:{
            grant_type: 'password',
            client_id: client_id,
            client_secret: client_secret,
            username: username,
            password: password
        },
        headers:{
            'Content-Type' : 'application/x-www-form-urlencoded'
        }
      });
      res.json(response.data);
      console.log('## res ===> ', response.data);
    } catch (error) {
        console.log('Error occured during authentication ', error);
        res.status(500).json({error: 'Internal server error '});
    }

});


//getAccountData API

app.get('/getAccountData', async(req,res) => {

    try {
        const {accessToken} = req.query;
        console.log('## req accessToken ===> ', accessToken);

        const response = await axios.get('BaseurlOfYourOrg/services/apexrest/getAccountData/', {
            headers:{
                'Content-Type': 'application/json',
                'Authorization': 'Bearer '+ accessToken
            }
        });
        res.json(response.data);
        console.log('## Res ==> ', response.data);
    } catch (error) {
        console.log('Error during getAccountData API got called : ', error);
        res.status(500).json({error : 'Internal server error '});
    }
});


//Starting the server

app.listen(PORT, () => {
    console.log(`Server is listening at https://localhost:${PORT}`);
});
Step 4: Configuring Angular for Integration
Now that the proxy server is set up, configure Angular application to communicate with Salesforce. Follow these steps:
# Create a new Angular project
ng new salesforce-angular-integration

# Navigate to the project folder
cd salesforce-angular-integration

# Install Angular HTTP client
ng add @angular/common/http

# create a new LWC comp
ng g c salesforce-integration
In salesforce-integration.component.ts file:
import { Component, OnInit } from '@angular/core';
import {HttpClient, HttpHeaders} from '@angular/common/http';

@Component({
  selector: 'app-salesforce-integration',
  templateUrl: './salesforce-integration.component.html',
  styleUrls: ['./salesforce-integration.component.css']
})
export class SalesforceIntegrationComponent implements OnInit {


  private clientId = 'Client_Id(Connected App)';
  private clientSecret = 'Client_Secret(Connected App)';
  private username = 'Salesforce Org's username';
  private password = 'Salesforce Org's Password' + 'Security Token';
  private authorizationUrl = 'http://localhost:3000/authenticate';
  private getAccountEndpoint = 'http://localhost:3000/getAccountData';


  constructor(private httpClient: HttpClient) { }

  accessToken = ''

  ngOnInit(): void {
  }

  public authorizeSalesforce(): void {
    const credentials = {
      client_id: this.clientId,
      client_secret: this.clientSecret,
      username: this.username,
      password: this.password

    };
    console.log(`This is test log` , credentials);
    //Prepare the request body with salesforce connected app's configurations
    const headers = new HttpHeaders({'Content-Type': 'application/json'});

    //Make the post req to initiate the salesforce OAuth process
    this.httpClient.post(this.authorizationUrl,credentials, { headers }).subscribe(
      (response) => {
        console.log(`res ===` , response);
        //Handle the successfull response from server
        console.log('Authentication successfull : ', response);
        // fetch the accessToken from the response
        Object.entries(response).forEach(([key, value]) => {
          console.log(`${key} : ${value}`);
          if(key === 'access_token'){
             this.accessToken = value;
          }
        });
      },
      (error) => {
        //Handle Error
        console.log('Error occured during authentication :', error);
      }
    );

  }


  public getAccountData(): void {
    console.log('Access Token ===> ', this.accessToken);

    const headers = new HttpHeaders({'Content-Type': 'application/json'});

    const url = this.getAccountEndpoint + '?accessToken=' + this.accessToken;

    //Make the get request to the Node server API
    this.httpClient.get(url, {headers}).subscribe(
      (response) => {
        console.table(response);

      },
      (error) => {
        //Handle Error
        console.log('Error occured during getAccount Data API calling :', error);
      }
    );
  }

}
In salesforce-integration.component.html file:
<p>salesforce-integration works!</p>

<div>
    <button (click)="authorizeSalesforce()"> Authorize Salesforce</button>

    <button (click)="getAccountData()"> Get Account Data</button>
</div>
In app.component.html file:
<app-salesforce-integration></app-salesforce-integration>

<router-outlet></router-outlet>
In app.module.ts file:
import { NgModule } from '@angular/core';
import { BrowserModule } from '@angular/platform-browser';

import { AppRoutingModule } from './app-routing.module';
import { AppComponent } from './app.component';
import { SalesforceIntegrationComponent } from './salesforce-integration/salesforce-integration.component';
import { HttpClientModule } from '@angular/common/http';

@NgModule({
  declarations: [
    AppComponent,
    SalesforceIntegrationComponent
  ],
  imports: [
    BrowserModule,
    AppRoutingModule,
    HttpClientModule
  ],
  providers: [],
  bootstrap: [AppComponent]
})
export class AppModule { }
Resources :


