
Table of Contents
Overview of Python as a programming language
Python is an immensely popular general-purpose programming language that can be used for a wide range of applications, such as web development, data analysis, machine learning, artificial intelligence, automation, scripting, and more. As of now, the most recent version of Python is “Python 3”.
Installing Python
Python installation is a quick and easy process that only requires a few steps to complete.Here are some general installation steps for Python on different operating systems:
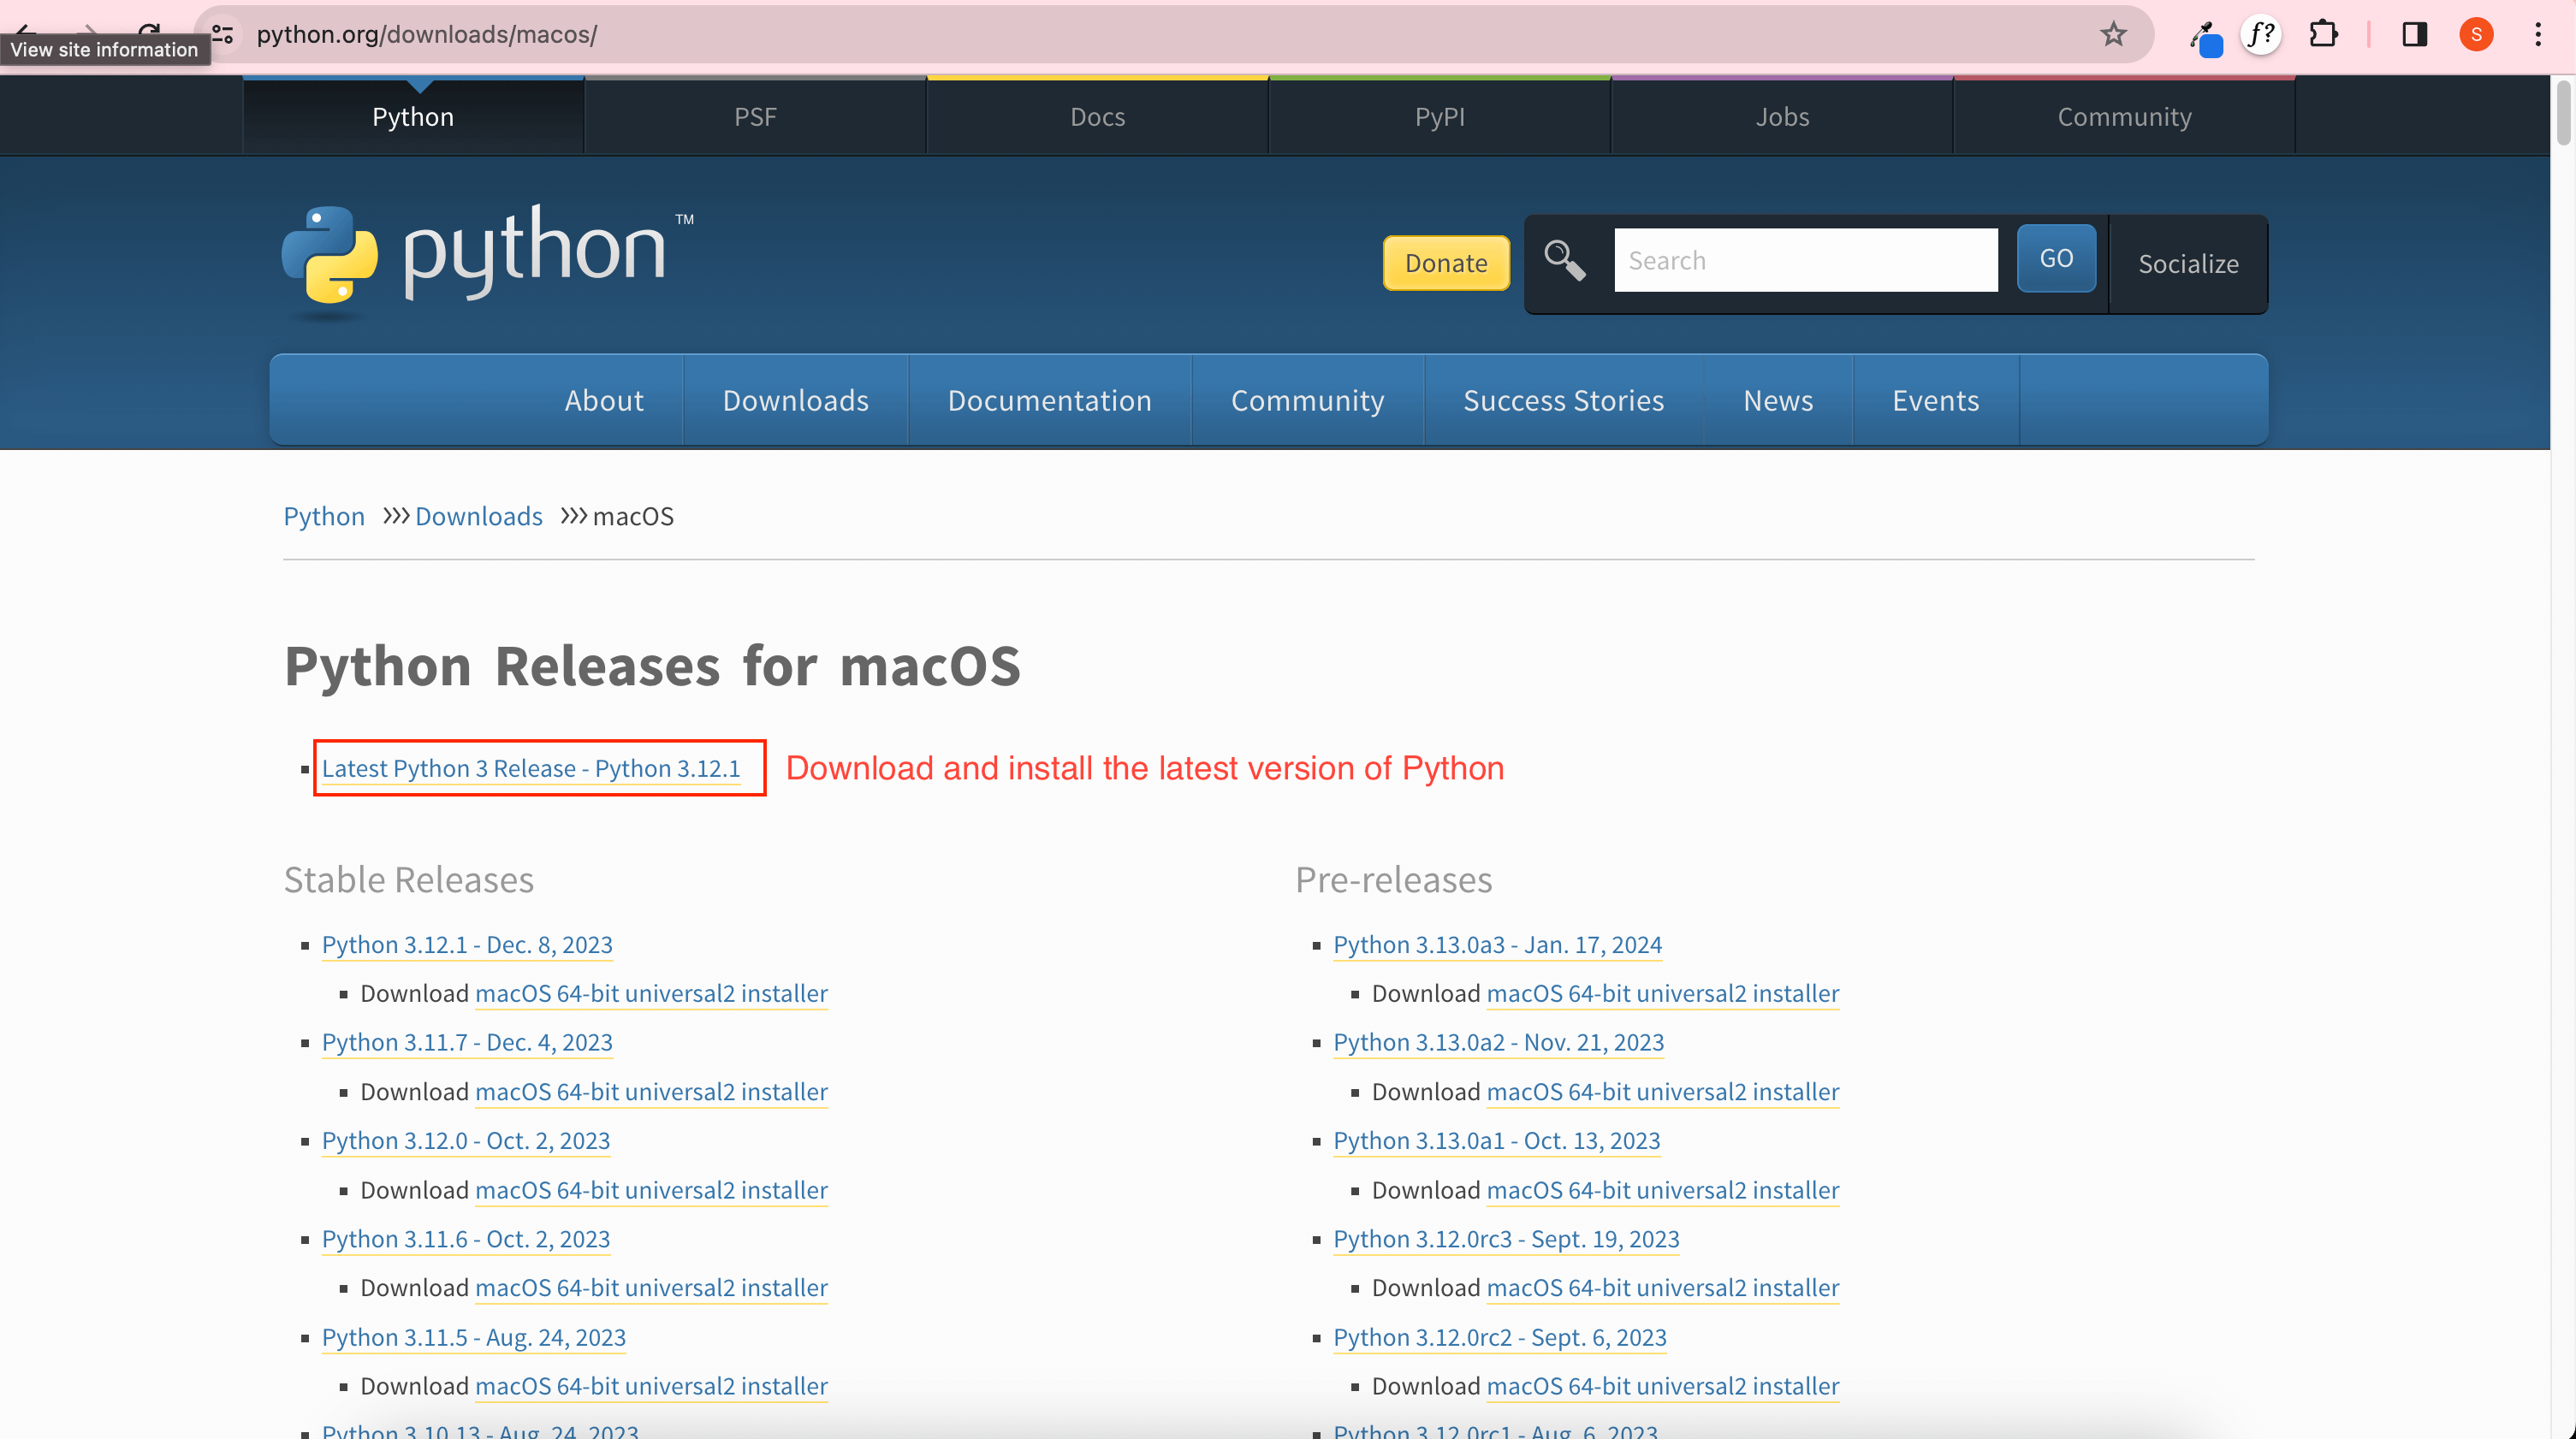
- Navigate to: www.python.org | Downloads | Windows or MacOS | Latest python Release
How to run python code
Use the command below to see if Python is installed on your system successfully.
Command : $python3 ‐‐version
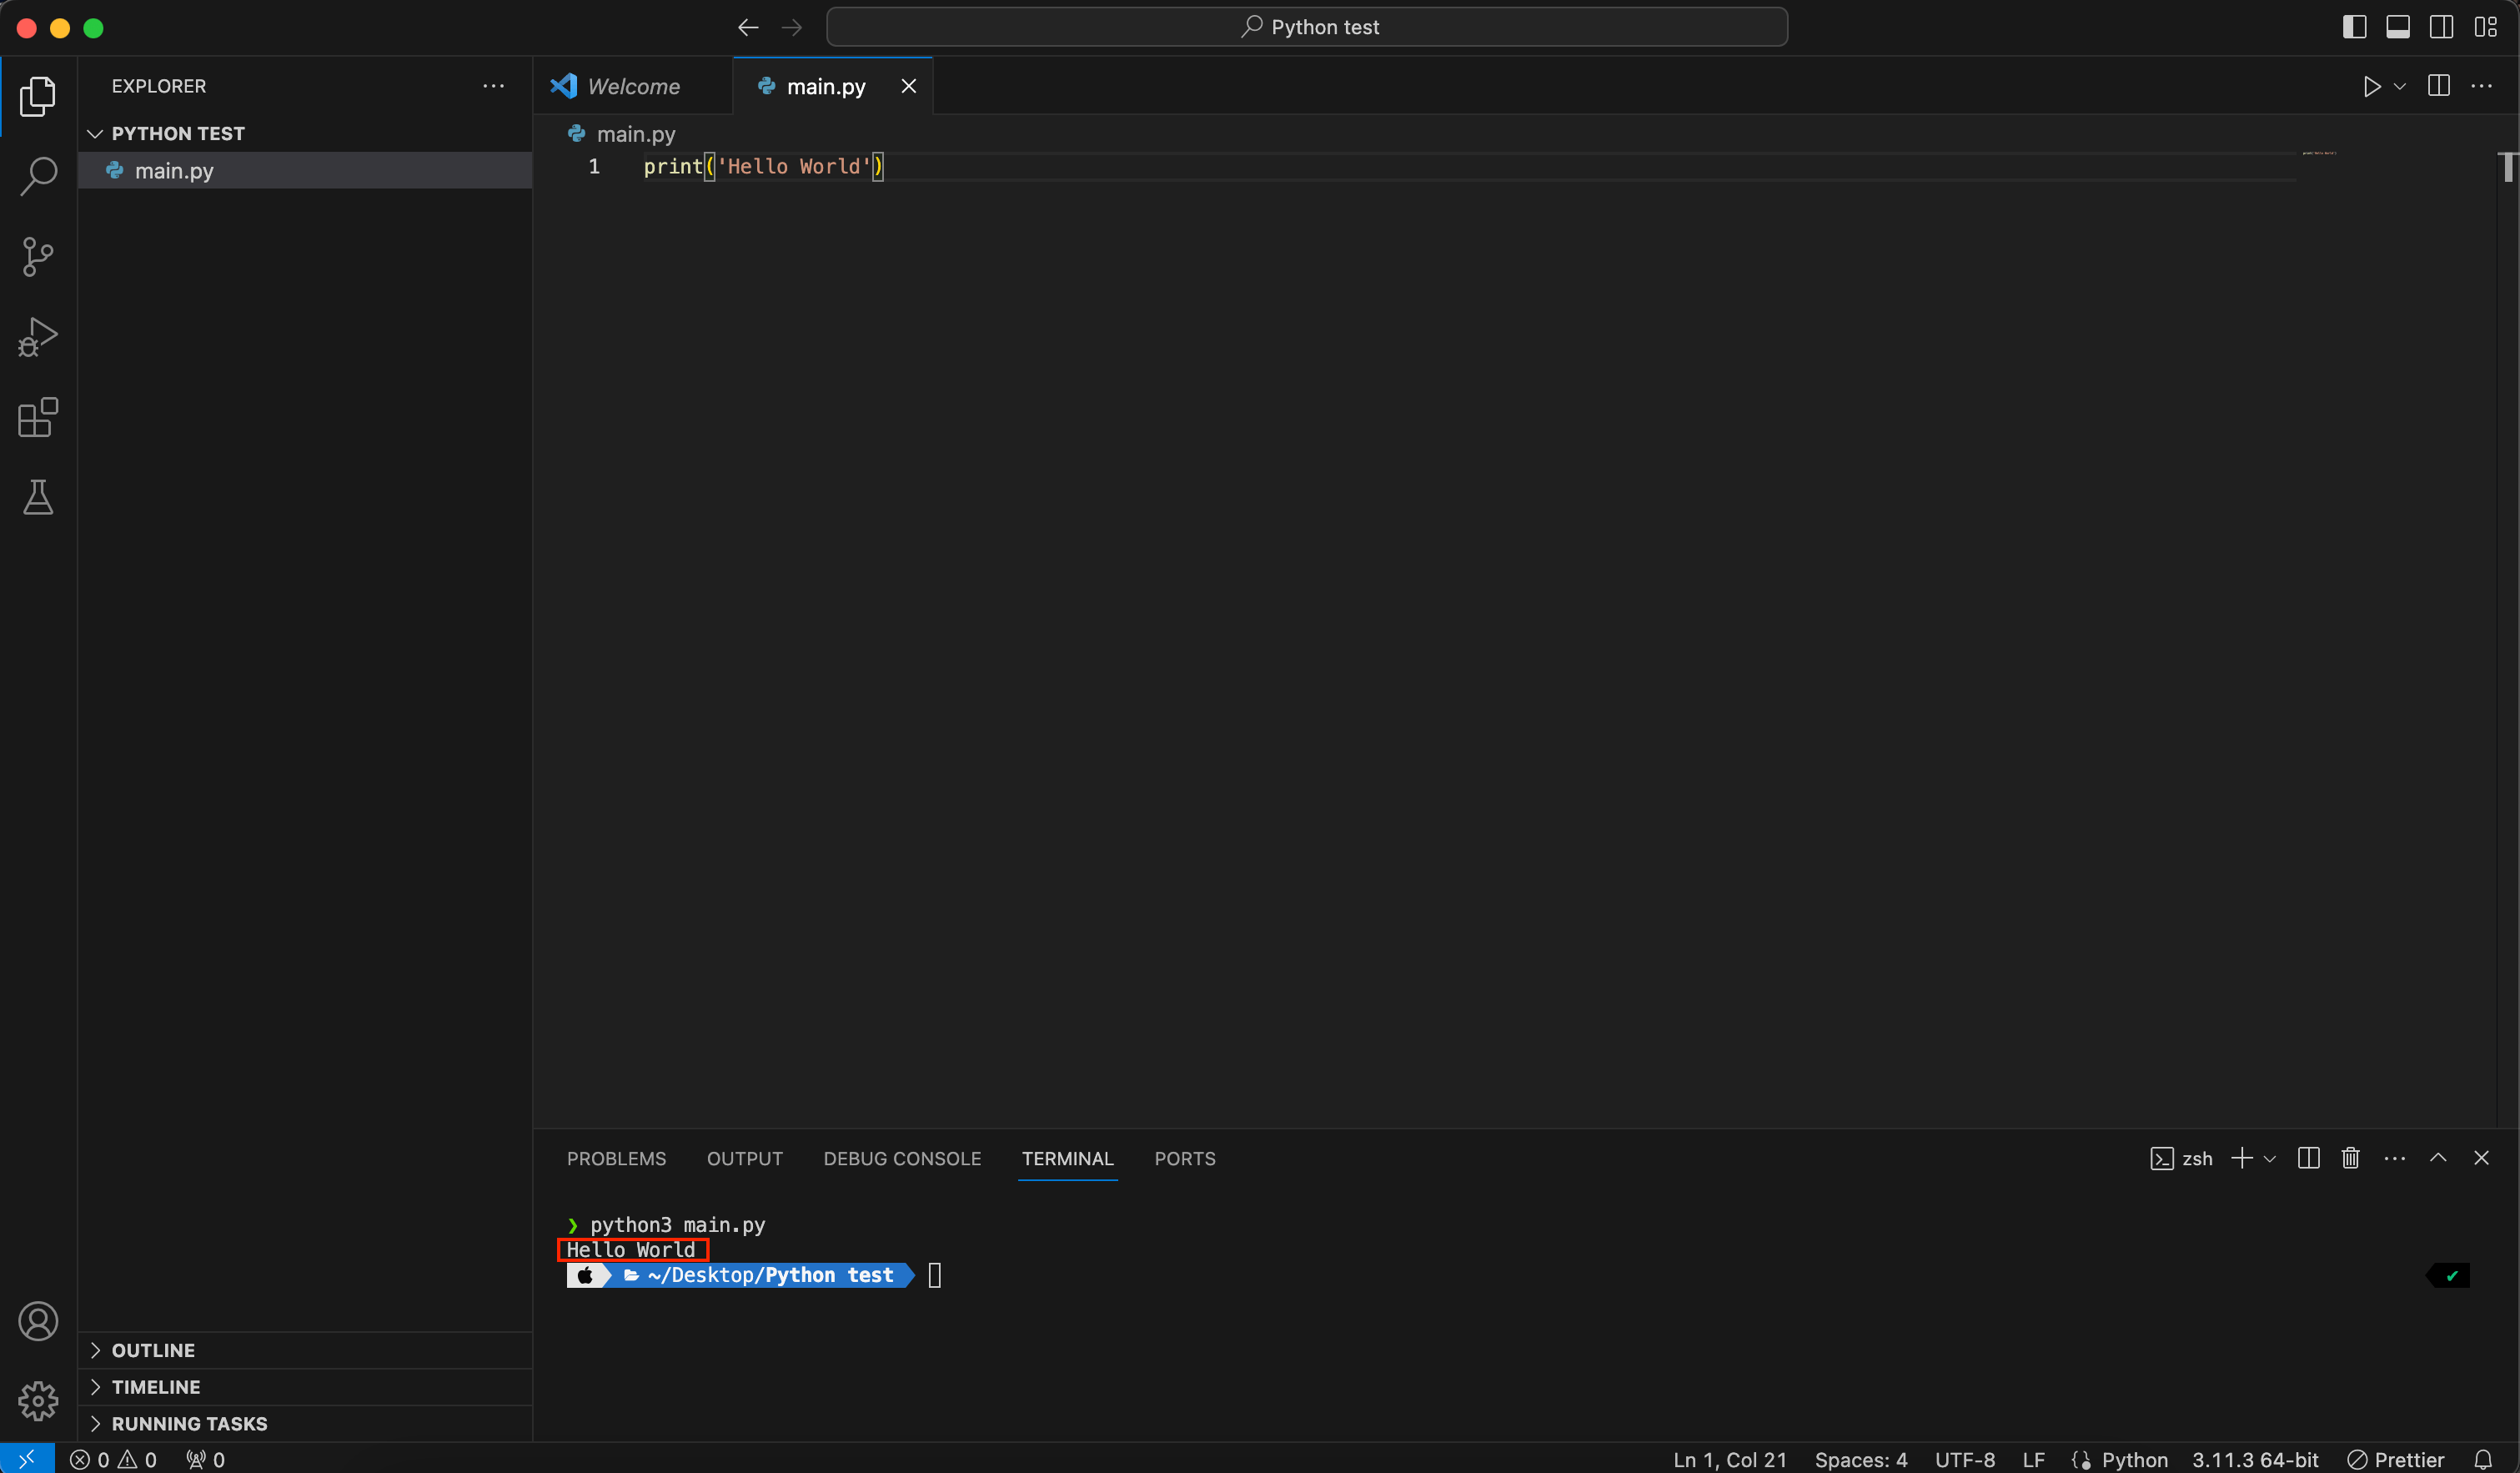
To run the Python code, you will need to install the Visual Studio code editor on your machine. Once it is installed, we are ready to go ahead with the execution of our first Python code.
- Create a folder called “Python test” on your machine and open it in Visual Studio Code
- Create a file named “main.py” inside the folder.
- Write this Hello World Python code in this file: print(‘Hello World’)
- Press “cmd + shift + p” for macOS and “ctrl + shift + p” for Windows.
- Select “Terminal: Focus Terminal.“.
- Run command: $python3 main.py
Setting up python virtual environment
To manage the dependencies and project-specific configurations for different projects, we need to set up a virtual environment for Python development. By using a virtual environment, we can install and use a wide range of standard libraries, and third-party libraries are available for Python.
Steps to set up virtual environment for python development
- Create a project folder and open it in Visual Studio code editor.
- Press “cmd + shift + p” for macOS and “ctrl + shift + p” for Windows.
- Select “Terminal: Focus Terminal.“.
- Run command : $python3 -m venv your_venv_name
- A project folder structure will be created with the name that you have provided.
Activating virtual environment
Why do we need to activate a virtual environment?
Activating a virtual environment isolates your project from the global Python environment. This means that when the virtual environment is active, any Python packages you install or scripts you run will affect only that specific virtual environment, preventing interference with other projects or the system-wide Python installation.
Steps to activate a virtual environment
- Navigate to the bin folder inside your project folder in the Visual Studio code terminal.
- Run command : $source activate
- Now to start writing code you need to have python file in your project folder. Start with main.py
Project_Folder | main.py - To execute this code, navigate to your project folder in terminal and
run command : $python3 main.py
How to add or install libraries in your python environment
- Run command : $pip install library_name
- Files for these libraries will be stored inside the folder structure.
- Commands to install some of the important Python libraries.
- $pip install numpy
- $pip install pandas
- $pip install matplotlib
- $pip install tensorflow
- $pip install django
- $pip install flask
- $pip install selenium