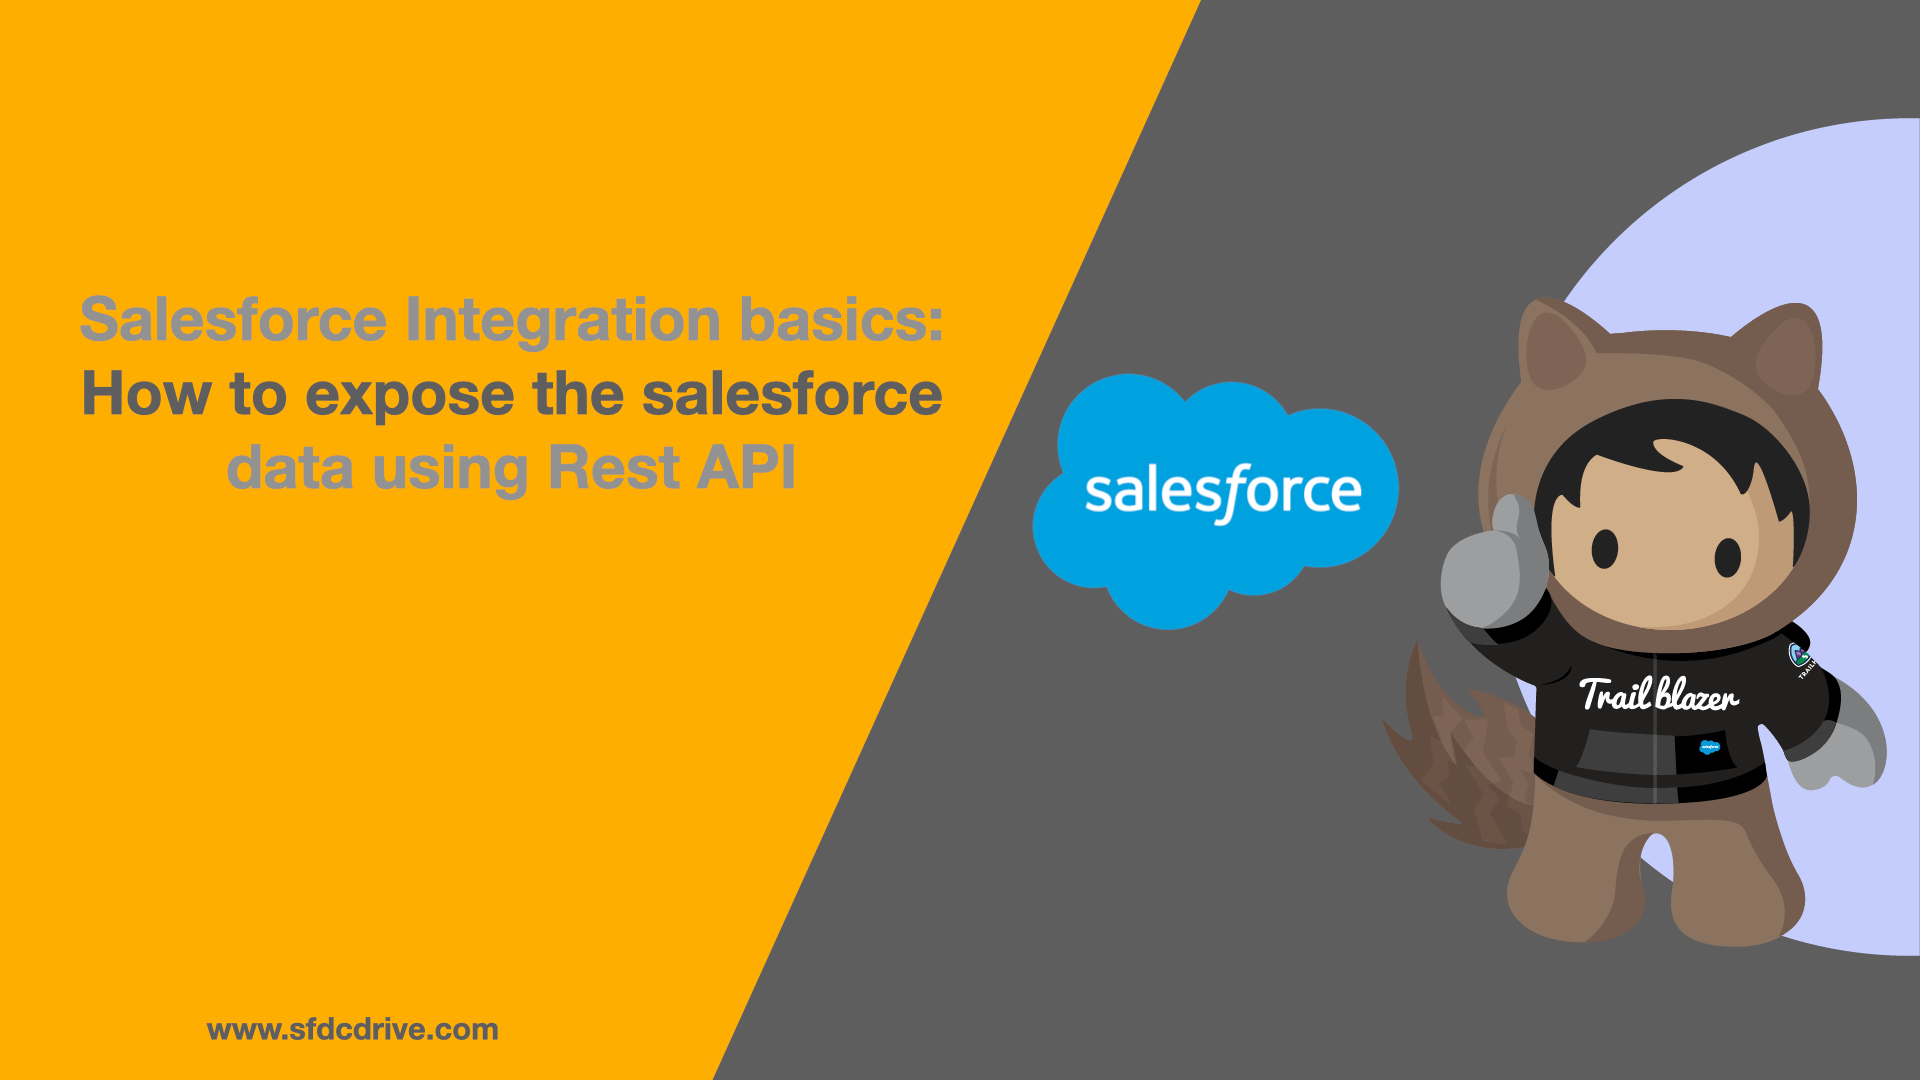
Integration between two platforms means communication can be established between two completely different platforms or systems through the HTTP protocol. HTTP is a protocol for communication that offers a specific method for data transfer from server to client.
In this article, we will learn how to build REST APIs, which will enable us to access Salesforce data from outside the org. For instance, any data from Salesforce org will be accessible to Postman. It is a development tool for testing and modifying APIs.
Table of Contents
Rest API
REST stands for REpresentational State Transfer. It indicates that when a client calls a RESTful API, the server will return a representation of the requested resource’s state.
A REST API is a collection of HTTP-based guidelines that regulate how different applications communicate with each other. There are four fundamental methods, also known as CRUD operations.
- POST: Create a record
- GET: Read a record
- PUT: Update a record
- DELETE: Delete a record.
For the purpose of performing the operations listed above on the data stored in salesforce org, we can create APIs in Salesforce that can be accessed from outside Salesforce once the user has an access token. Now your next question would be, What is an access token?
Access Token
Salesforce provides an access token to a client after a client is authorized. This access token is then used to access the protected Salesforce data. The client can now send this access token along with the HTTP request, and the Salesforce server verifies the access token and additional permissions defined by the connected app this client is using to connect to the Salesforce org.
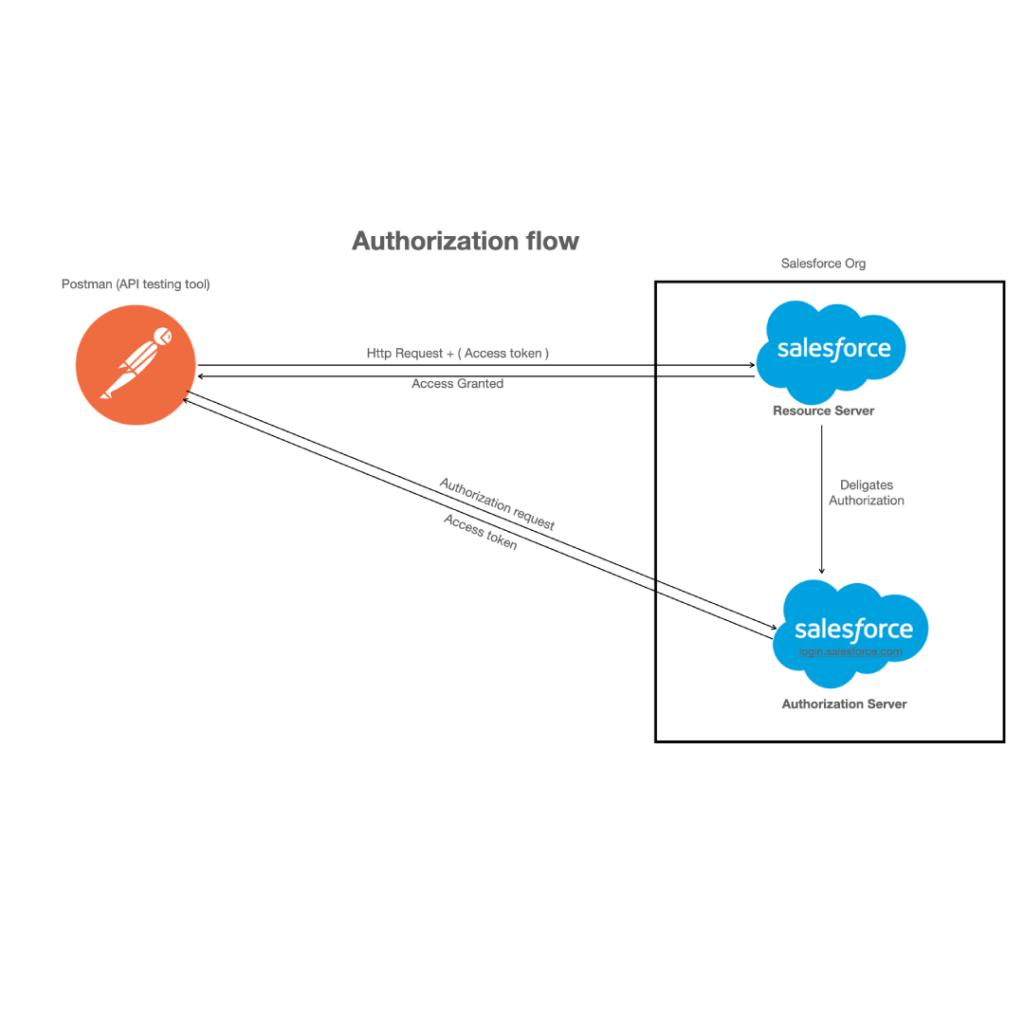
Authorization
The next step would be to understand the authorization. To provide an analogy, picture yourself working for a company where confidential data is handled. In order to protect the security of the data, no unauthorized individuals are permitted on the company’s property.
Thus, in order to access your office, you must present or swipe the ID card that your employer provided to you. Your ID card contains details about your credentials, such as your name and employer ID. Your authorization starts when you swipe your ID card, and the system successfully grants you entry permission.
Similarly, in order to start the authorization process in Salesforce, you must have the following information:
- Username = Salesforce Org’s Username
- password = Salesforce Org’s password + security Token
- client_id = Consumer Key (Find in Connected App)
- client_secret = Consumer Secret (Find in Connected App)
- grant_type = password (password as text, not your actual password)
Connected App
To put it simply, a connected app is a framework that resides inside Salesforce and lets external applications communicate with Salesforce through APIs and standard protocols such as SAML, OAuth, and OpenID Connect. These protocols are used by connected apps to authenticate, authorize, and provide single sign-on (SSO) for external apps. We will see later in this post how to create a connected app and authorize external users in our Salesforce developer edition org using the OAuth protocol.
In upcoming articles, we will learn more about other protocols and the basics of Salesforce integration.
Testing a connected app using Postman
We can now connect the newly created app, so the first thing we need to do is initialise the authorization flow by sending an http request with all the necessary headers. To authorise the Salesforce org from Postman, follow the instructions below.
- Install the Postman app on your computer.
- Open the Postman app and click on “New” to create a new request.
- In new request, enter the salesforce authorization endpoint : https://login.salesforce.com/services/oauth2/token
- Now we need to set the following below data in request body for this endpoint
- grant_type = password (password as text not your actual password)
- username = Salesforce Org’s Username
- password = Salesforce Org’s password + security Token
- client_id = Consumer Key (Find in Connected App)
- client_secret = Consumer Secret (Find in Connected App)
- Set the HTTP method to post and hit “Send” button.
- In the response, you will get the “Access token”.
- We have successfully authorized the client (Postman) to access the data in Salesforce. Now we need to create the API using a custom apex in Salesforce to access the specific data.
We have successfully authorized the Postman app to access data in Salesforce. In order to retrieve particular data, in upcoming articles we will see how we can create custom APIs in Salesforce using an apex to access particular data.
Other salesforce integration articles :